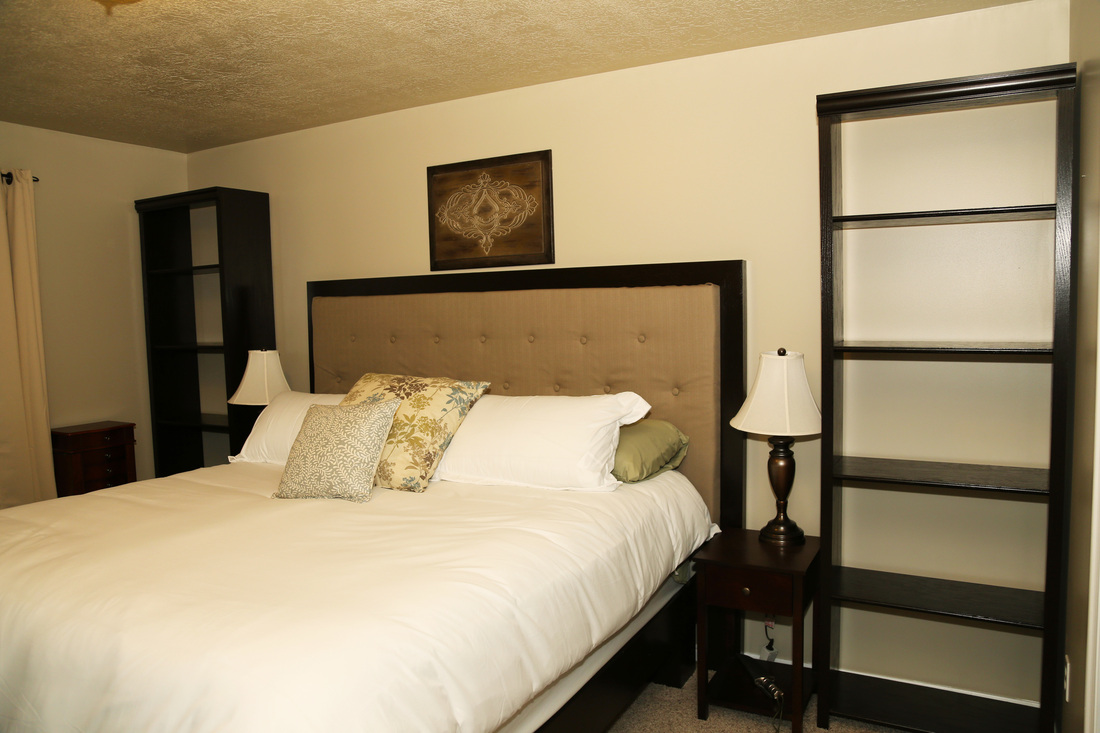
This was the most ambitious furniture project I've undertaken so far. It involved two custom shelves (similar to the ones I built previously), a king size headboard as well as a king size bed. All of these items are going on the same wall, so I wanted them to fit perfectly across the space.
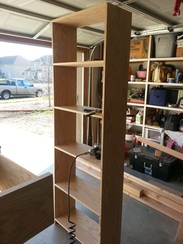
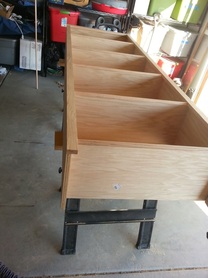
Like the previous shelves, I used laminated oak for the sides and shelves. I had it ripped to 12 inch pieces at Lowe's since those large boards are a bit unwieldy on a smaller table saw like mine.
Unlike last time, I routered dados into the sides of each of the bookshelves so that the actual shelf could slide into place and be glued.
While I was hoping to just use woodglue, I decided to put a few finishing nails into the shelves in order to hold everything in place. I think the combination made for really strong shelves, so it's probably for the best.
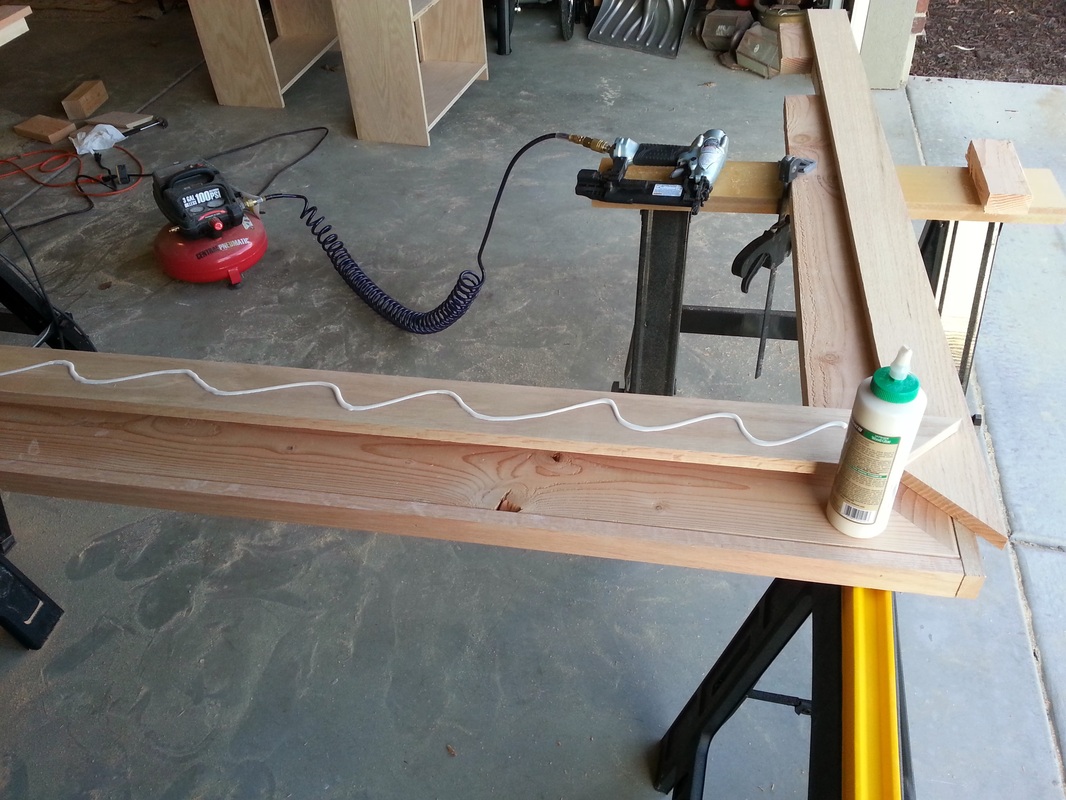
| Once I had both shelves built, I trimmed all the edges using solid oak pieces. I started with the pieces on the side. I used a small layer of glue and a couple finishing nails to hold both sides in place. I then cut each of the pieces of trim for the shelves to size and fit them snugly in between the other pieces of trim. Just a little bit of glue held them all in place. I also used a larger piece of crown for the top to give the shelves a very nice look. |
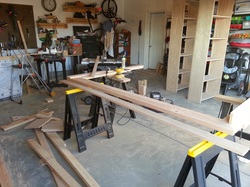
Once the shelves were complete, I got started on the headboard.
The idea behind this was to have a solid wood trim around all the edges with an upholstered portion in the middle (with enough padding to comfortably watch a movie or something).
So I built a frame out of 2X6 studs. All of this was going to be covered with oak as well as upholstery, so I just needed it to form a very strong base.
| I then took my oak boards that I had ripped down and trimmed out the front of the headboard (leaving about 2 inches of board to attach the upholstered portion) as well as the sides and top. Once again, a little bit of glue and a few finishing nails held everything in place. I also made the bedframe in a similar fashion. I used standard 2X4 studs to make the inner frame. From the inside, I then screwed on my oak boards so as to leave no visible marks of putting it together. |
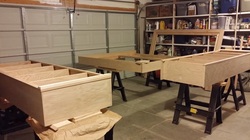
You can see all the projects laid out here (I took over the entire garage for the duration, which was a bit rough at times since it snowed multiple times and the temperature was in the teens).
From here, we spent the next week or two sanding, staining and repeating. Again, we used the Java Gel Stain that we are in love with. It took a bit longer since drying time increased (and I just didn't enjoy being outside for long stretches of time in such cold weather).
From here, we spent the next week or two sanding, staining and repeating. Again, we used the Java Gel Stain that we are in love with. It took a bit longer since drying time increased (and I just didn't enjoy being outside for long stretches of time in such cold weather).
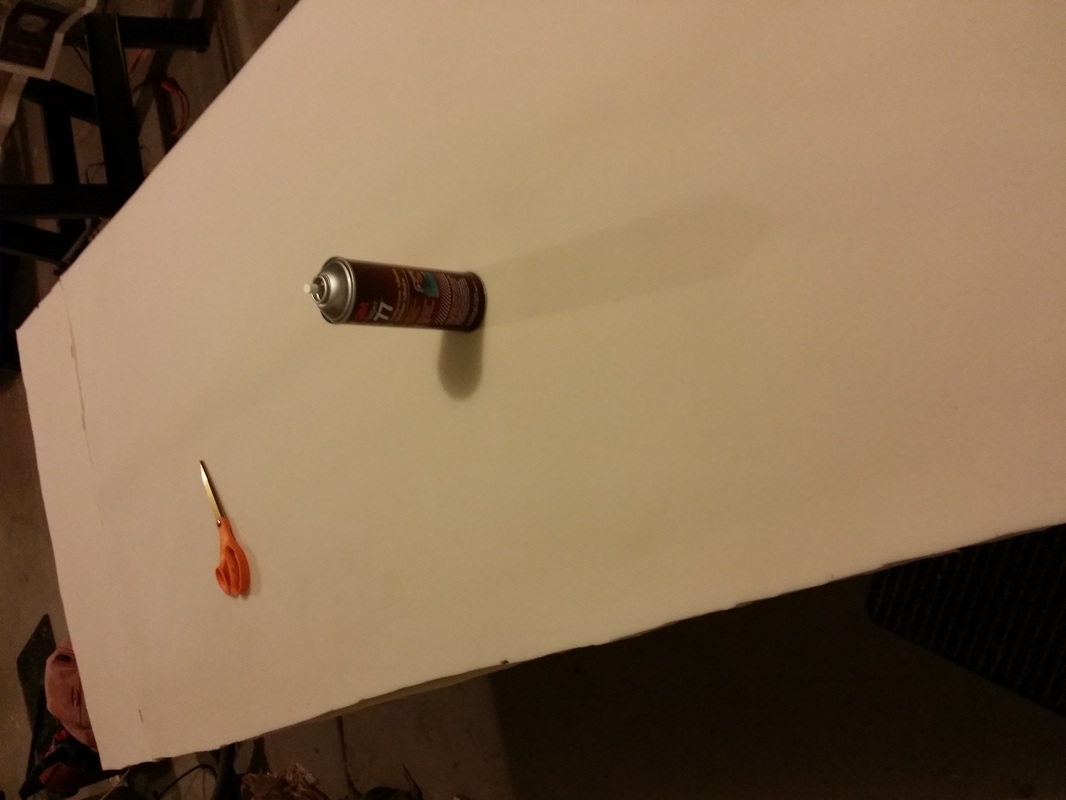
| The final part of the project was to upholster the headboard. I got a piece of half inch plywood and cut it to the right size. We looked at foam at the craft store and it was very expensive. So we ended up buying some foam from Walmart and cutting it down to size. We wanted it to be nice and soft, so we double layered the foam for about 3 inches of padding. I used a spray glue to glue it to the board and to glue all the pieces together. |
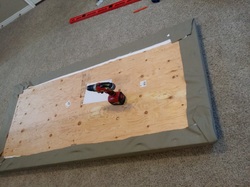
Once the glue had dried, we put batting and our fabric on and stapled it. That was fairly easy.
The worst part of this whole project was the buttons. In order to make them, you have to jam them together, which is incredibly difficult with a thick fabric (my thumbs still hurt). Then you have to tie them to the board.
I drilled two holes in the back for each button, then used an upholstery needle to thread some string through the fabric, through the button, and then back. I then pulled it all tight for that tufting pattern we wanted. Helpful tip: have someone push the button into the foam while someone else ties it in the back. It will make your life so much easier (I did it the hard way after which my wife made this suggestion).
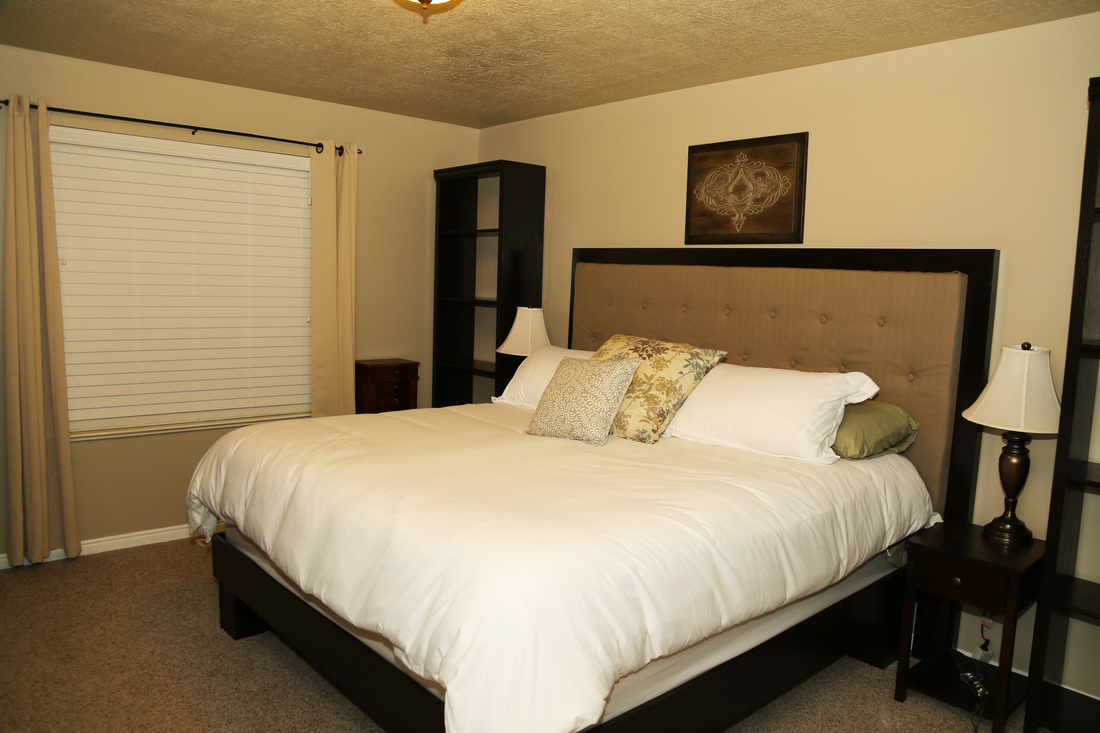
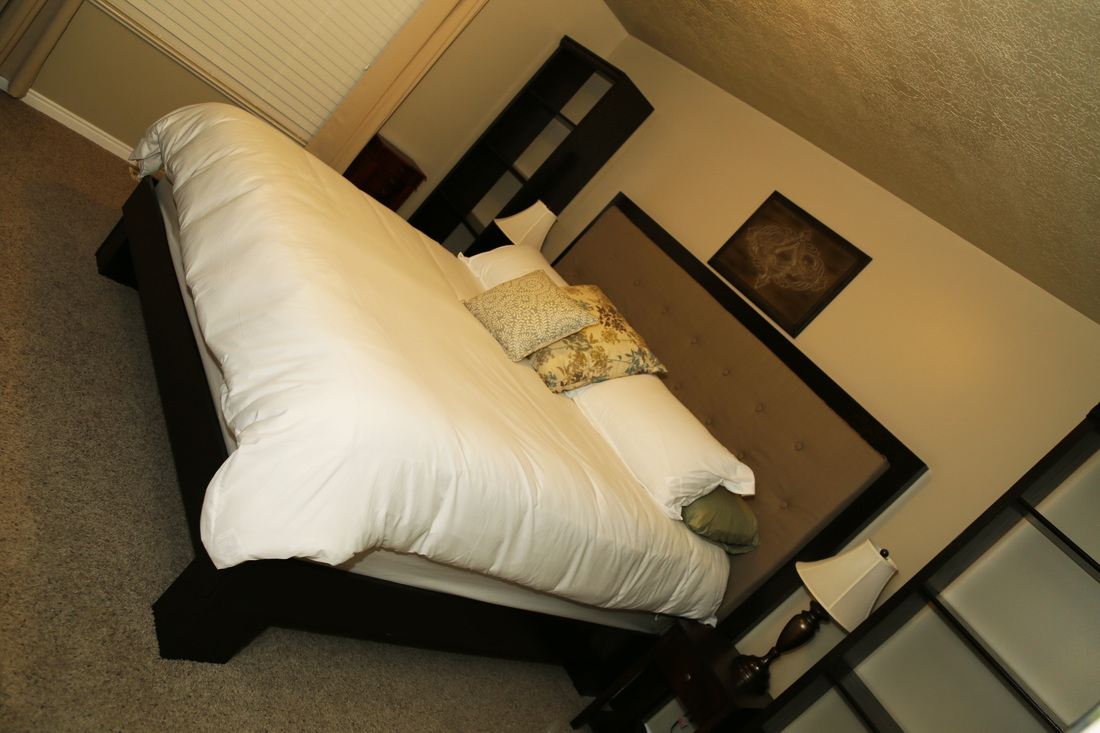
Once we had the upholstered portion finished, I screwed it to the headboard and we moved everything into the master bedroom (special thanks to my dad for helping with that). I wasn't sure this Christmas present for my wife would be finished in time, but we wrapped it all up in the afternoon of Christmas day.

 RSS Feed
