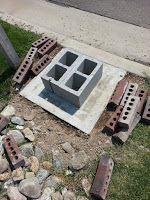
Since we've moved in, we've had a pile of bricks on the side of our house that have been begging for a project. So what better than a nice mailbox?
My brick laying experience was pretty limited before this, so after a good deal of research and video watching (some links included on the other tab), we set out to get it done.
I laid a little cement for the base and then we got things rolling with some cinder block and a few courses of brick. We decided we want to build as strong of a mailbox as possible.
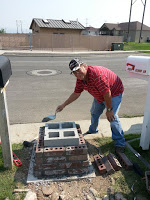
Fortunately, my dad has a bit more experience in this, so he helped take some of the pressure off initially while I was able to get my sea legs.
I had some cement pieces made for this mailbox a week or two in advance. There is a nice cement shop in Salt Lake that can create custom blocks if you're thinking about getting some as well. I had trouble finding many places that did these, so I'm happy to recommend them.
I had some cement pieces made for this mailbox a week or two in advance. There is a nice cement shop in Salt Lake that can create custom blocks if you're thinking about getting some as well. I had trouble finding many places that did these, so I'm happy to recommend them.
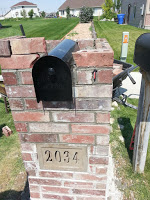
We continued to lay cinder block and brick all the way up to the mailbox, which sits about 42 inches off the ground. Every few courses we also took some time to strike the joints. This means taking a small metal tool and smoothing the mortar to give it that nice, finished look.
You'll also notice we have a plastic flag set into one of the joints. We see these in a lot of mailboxes around here, but as far as I've found, there is only one place that sells them. Fortunately you can just order it and ours arrived within a couple days.
You'll also notice we have a plastic flag set into one of the joints. We see these in a lot of mailboxes around here, but as far as I've found, there is only one place that sells them. Fortunately you can just order it and ours arrived within a couple days.
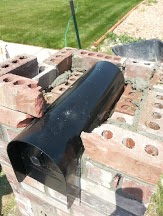
The next most difficult thing was setting in the mailbox. You have to make a lot of cuts to bricks. Fortunately we had a whole pile to experiment with. I think some more skilled hands can actually use their trowel to hit the brick and break it where they want. We tried this with quite a few bricks. It probably worked about 25% of the time. We got the right size and the rest of the scraps got put into the inside of the structure.
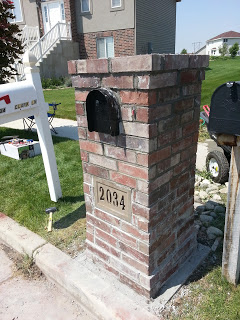
We decided to taper the bottom and the top, so the bottom starts out a little wider and comes in and the top comes out a bit as well.
We let the mortar set up for a few days before we set the cap on. It was heavy enough that we didn't want to squeeze out all the mortar by jumping the gun. While it only took two of us to put the whole mailbox together, it took three of us to lift the cap up and set it on.
We let the mortar set up for a few days before we set the cap on. It was heavy enough that we didn't want to squeeze out all the mortar by jumping the gun. While it only took two of us to put the whole mailbox together, it took three of us to lift the cap up and set it on.
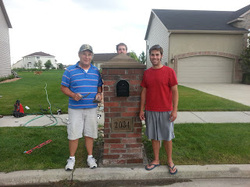
The actual building of this mailbox was probably a full day project, excluding the time we had to let everything dry. Obviously you need to let your cement base dry and then letting the mortar dry before you finish it. Overall though, you could build this in a day.
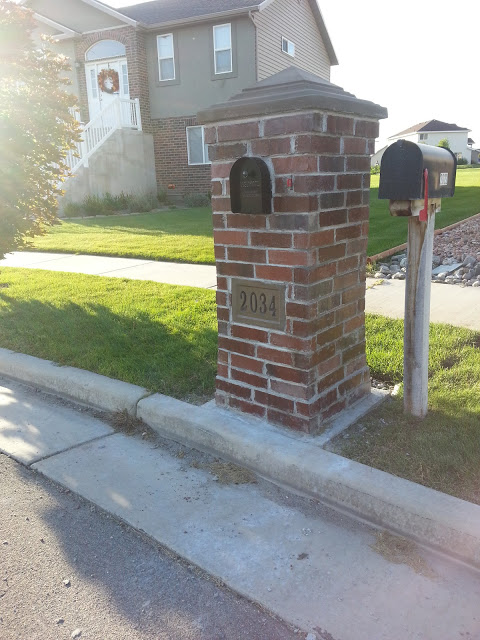
After everything was set, the last step was to clean off the excess mortar and put some sealer on. I used some brick cleaner and a wire brush to scrub off as much as possible. Once that was done, we used a glossy sealer to give the mailbox that finished wet look.
After everything was set, the last step was to clean off the excess mortar and put some sealer on. I used some brick cleaner and a wire brush to scrub off as much as possible. Once that was done, we used a glossy sealer to give the mailbox that finished wet look.

 RSS Feed
