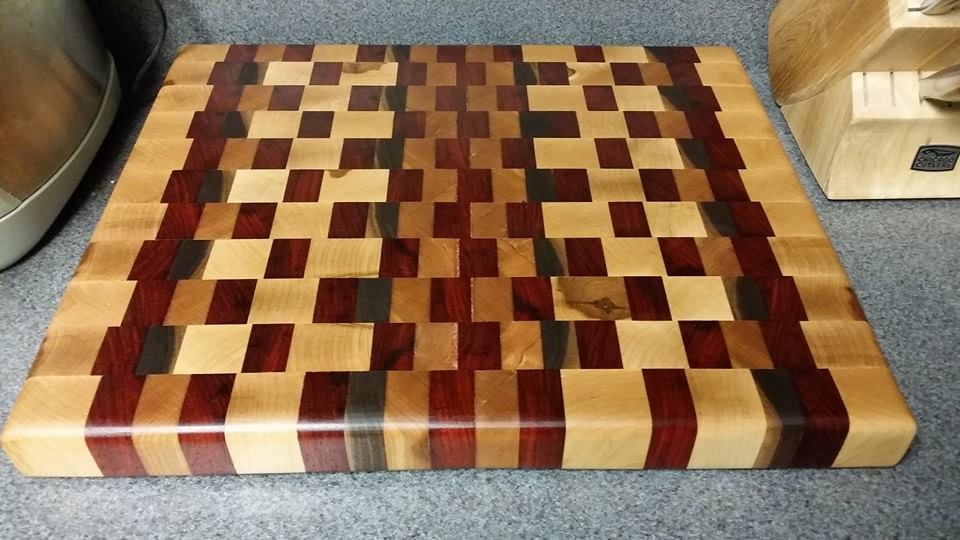
This project was an interesting one. My wife wanted a nice big cutting board for the kitchen. She didn't want anything particularly special, other than a good size and thickness. But after reading about cutting boards, I realized I wanted to make it a nice end grain board, and make it bigger than she was expecting.
So after a lot of reading and video watching, I got started. I picked up some nice maple, cherry and walnut boards and decided to accent it with some padauk that I found for a nice deep red tone.
The first difficulty that I encountered was ripping the maple block I had down into appropriate sized strips. My saw blade clearly wasn't up to the task, so I had to plane down each strip after the fact. If you embark on this, save yourself some serious headache and get a couple of good saw blades for the job. One for ripping and one for cross-cutting. I have since done the same and it makes life much better.
Once I had all the strips, I glued them up into two halves. I wanted to be able to run them through my planer and the whole block would have been too big at this point. Once I had done that, I glued the two halves together.
After sufficient drying time, I started making my cross-cuts. I cut each strip about 2 inches wide and then turned them so the end grain was up and glued them together.
Let me now offer a serious warning. DO NOT PLANE END GRAIN. It seems like there are some different schools of thought when it comes to this. Some people say it is okay and have even successfully done it. Those people are crazy. I thought I'd be able to plane my board as long as I took it just a little at a time. However, the board caught in the planer and shot out. It ended up hitting me right in the chin. It knocked me on my butt and left me spinning for a bit. Definitely not worth the risk.
So after taking a couple days to regain my composure after that, I was left with a mangled board to repair. It took a great deal of sanding, but I finally got it back to a reasonable state.
Once all my sanding was complete, I took a router to the edges to give it a nice curve and then used almost an entire bottle of mineral oil to finish it up.
Overall, it was quite the learning experience. This project was probably more fraught with problems than most I've done and almost ended up as firewood several times, but actually turned out okay. As they say, all's well that ends well, so we'll chalk this one up as a success. And hopefully the next one will be even better.


 RSS Feed
