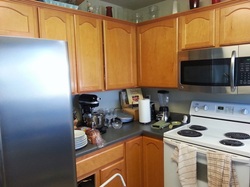
Like so many other home owners, we used to have these awesome builder grade, honey oak cabinets. Without any hardware to boot. But with two quarts of Java Gel Stain and some foam brushes, we set out to change all that.
We started by taking off all of the doors and hinges so that would could stain just cabinets. We put all the hardware in a few small boxes to keep it organized for when we needed to get everything back together.
We started by taking off all of the doors and hinges so that would could stain just cabinets. We put all the hardware in a few small boxes to keep it organized for when we needed to get everything back together.
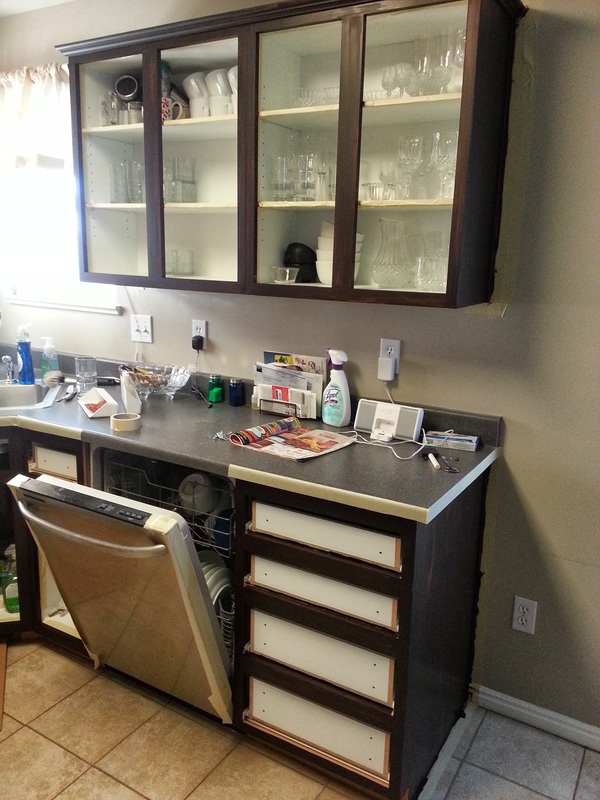
| We opted not to sand down the cabinets inside in order to keep the mess to minimum. Fortunately, the gel stain goes on thick enough that sanding wasn't necessary at all. So we taped around the wall and shelves and began the process of staining. It took two coats to get the full coverage that we wanted. And then I opted for a third coat just to make sure that I covered everything. Frankly, a third coat may not even be necessary, but we've found that doing several thin coats is the best way. The first coat gets pretty good coverage. With the second, you can pretty much see how it's going to turn out. The third doesn't change much, but mostly just covers any little areas you missed or places where it was too thin. |
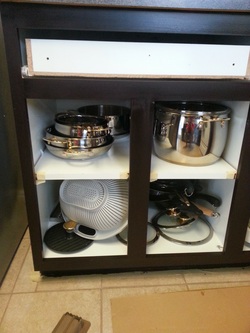
I've seen a few other people post their projects using Java Gel Stain and they've suggested using socks or cloth. We didn't do that, but went with the foam brushes from above. They leave far less distinct brush marks and are much easier to use in my opinion. They are also pretty cheap, so as you go through them you don't feel too bad about just throwing them away.
While we had the inside going, we also had the doors laid out in the garage so that we could stain them as well. Unfortunately we didn't have enough room to lay them all out at the same time, so it took two waves to get them completely stained and finished.
We finished everything with a nice polyurethane, which took two coats to do as well.
| Unfortunately we were in a bit of a time crunch, so we didn't get to sand everything between coats as much as I would have liked. If you do sand, it make take an extra coat of each to finish, but the result will be extremely smooth (I've finished a couple other things where that's been the case). However, even with minimal sanding, the results are great. |
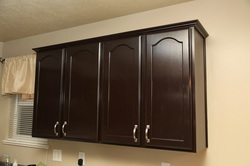
We finished all the cabinets off by adding some hardware as well. I'd suggest getting a guide as it makes the process extremely easy. I'd also suggest being careful about your uppers and lowers. Probably a rookie mistake, but we made that mistake and while it's fixable, it's annoying.
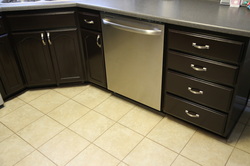
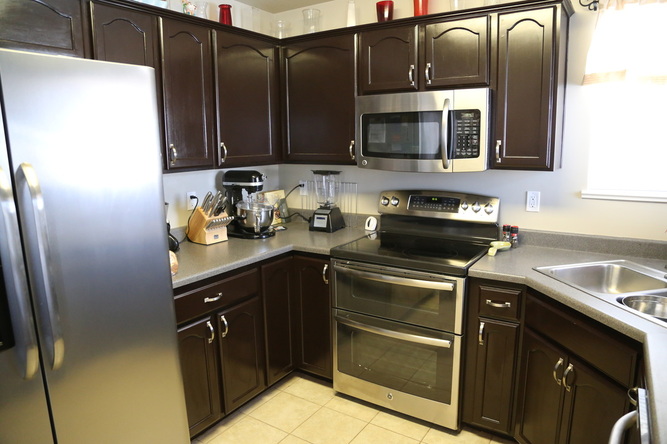
With a bit of time (it's a long process since everything takes about a day to dry), we now have some awesome cabinets that are the exact color we were looking for.
With a bit of time (it's a long process since everything takes about a day to dry), we now have some awesome cabinets that are the exact color we were looking for.

 RSS Feed
